Before today, I have never ever truly thought of making my own cards for Christmas or any other occasion, but no longer must I pay through my nose to get a good looking Hallmark card. Welcome to the world of PRINTMAKING!
Printmaking requires the use of
- WATER SOLUBLE INK (poured onto plexiglass and rolled out with brailler until it is no longer tacky!)
- BRAILLER (looks like a paint roller)
There are three forms of printmaking:
1. COLLAGRAPH
- Student is ADDING ON to make this form of print.
- Student cuts out shapes/designs and glues it to a piece of cardboard paper.
- Student chooses a paint colour and rolls it over top of cardboard paper.
- Student takes a white piece of paper and sticks it on top of paper and pushes down.
- Student peels back paper and has a collagraph print.
- Student can repeat until glue starts to unstick the shapes/designs.
- Student can also use pencil to etch in more design.


 2. RELIEF PRINTING
- Instead of adding Student is taking AWAY.
- Student takes piece of flat styrofoam (perhaps styrofoam plates) and uses pencil to etch into it.
- In relief printing student can do REDUCTION PLATE which is making several different prints using the same plate but with lots of colour.
- It is suggested that while attempting to do a reduction plate that students use first LIGHT colours and work up to the DARK COLOURS.
3. SAFETY CUT
- Very much the same method of Relief Printing, except the student can make a rubber stamp that they can use several times over. Student uses a square block (looks like an eraser).
- Student uses a carving utensil to carve away from oneself.
- Students can do reduction plating as well, but have an easier time in washing the eraser during the colouring stage.
METHOD OF REDUCTION PLATING:

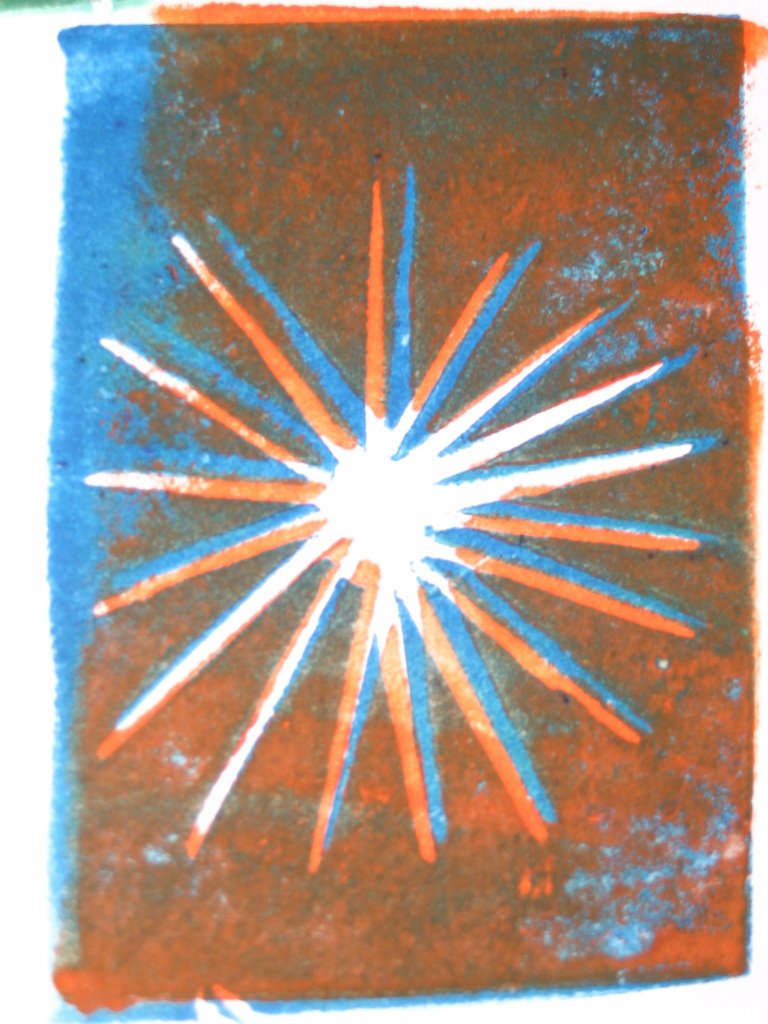 - Do a first copy (make several copies in case one gets messed up).
- Then scratch in a bit more to detail your picture.
- Do a second copy with a different colour on a different piece of paper.
- Then take this new copy and place it exactly on top of the old copy, flip it over, and push.
- Continue this process starting with lighter colours and moving on to darker colours.
- Eventually student will have a colourful design/picture.
posted by Victorian Research @ 2:31 PM
0 comments
![]()
![]()

0 Comments:
Post a Comment
<< Home